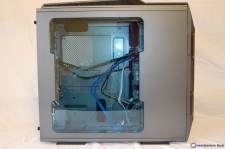
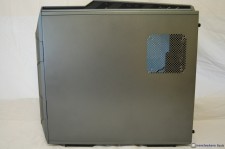
The exterior of the IN WIN GRone features a large transparent window on the left side. The window is tinted in what I can only describe as a light blue/smoke color. Embossed in the center of the window is a rather large “IN WIN” branding. It is not overbearing by any means, but it is noticeable. I’ve never been one to like large branding applied to a case, and perhaps this would have been best left off. Another option would have been to make it smaller and relegate it to one of the corners of the window. The right side of the GRone has a place to mount a 120 or 140 mm fan, something you do not see very often on the right side of cases. If it’s possible to mount a fan on the inside of the right panel, there must be a lot of room behind the motherboard tray for cable management; we’ll find out later.
 |
 |
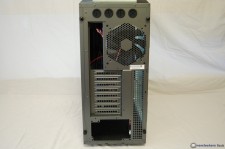
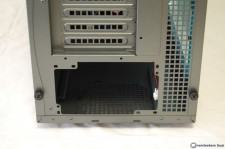
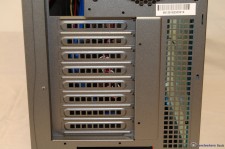
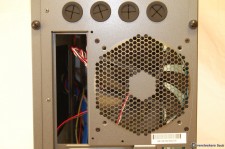
From the back area we can see the GRone utilizes a bottom mount PSU design, which is pretty standard now days. Four thumb screws are used to hold the two side panels in place, again standard fare. There is a good sized honeycomb mesh area to the right of the PSU opening that stretches to the midway point of the chassis. This will definitely allow unrestricted air flow out the rear of the case. There are eight PCI expansion slot covers that are all ventilated in design, again adding to the air flow properties. Moving upward, we find the 120/140 mm fan opening that has an included 140 mm fan installed. To the left of the fan is the opening for the motherboard’s I/O shield, and at the very top are four rubber grommet holes for an external water cooling system’s tubes to pass through.
 |
 |
 |
 |
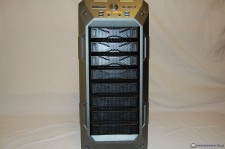
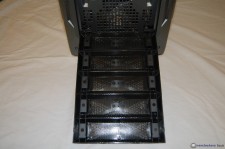
Moving around to the front panel of the GRone, we find an entirely filtered mesh design implemented here. The bottom five covers are actually all one piece and can be easily removed by pressing the top of the bezel. This will release it from the spring loaded latch built into the front panel. Once released, the bezel can be easily cleaned or rinsed off. The top three covers are removed by simply squeezing both sides towards the center and pulling straight out. In order to remove the front panel entirely, you must do so from inside the case with both side panels removed. There are three locking latches on each side of the front panel that must be depressed from inside, thus relieving the front panel from the chassis.
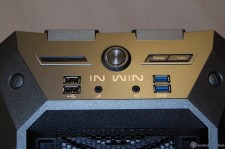
The very top of the front panel is where the GRone’s I/O connections are found. The big button in the center is, of course, the power on button; and just to the left of that are the HDD activity LED and reset button. To the right of the power on button is the fan controller switch. Sliding the switch left or right allows for Turbo or Silence Mode. The bottom of the I/O connection area has two each USB 2.0 and 3.0 connections, and the customary headphone and MIC jack.
 |
 |
 |
|
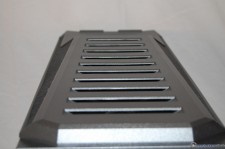
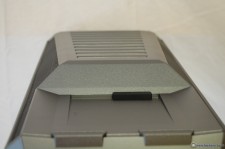
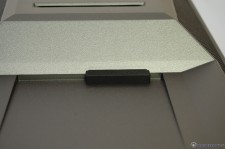
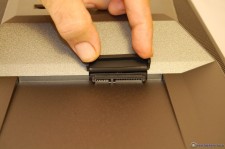
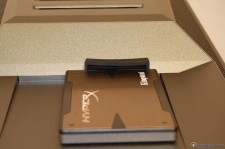
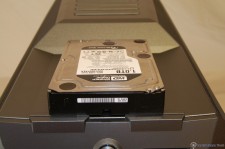
The top panel of the GRone has a grated ventilation look to it that encompasses about 3/4 of the panel’s length. The forward most section of the top panel is reserved for a SATA EZ-Swap Module, which will accept both 3.5″ and 2.5″ HDDs. Running the length of both sides of the top panel is yet another mesh area for even more unrestricted air flow.
 |
 |
 |
 |
 |
 |
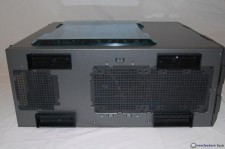
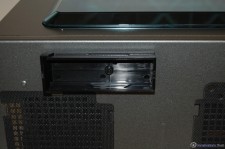
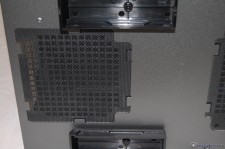
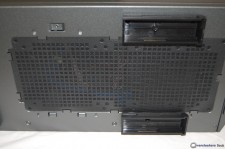
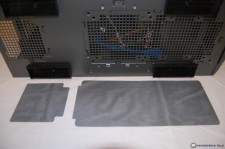
The last exterior area to explore is the bottom of the GRone. Here we find four plastic feet, which do not have rubber inserts. I much prefer some sort of rubber applied to the feet to help protect the surface the case sits on, and to aid in anti-vibration. There are two screen type filters located on the bottom’s forward and rear areas. The filters are easily removable for quick and easy cleaning. You will, however, have to tilt the case or lay it down to gain enough access to remove the filters. I think a slide-out design would have been better here.
 |
 |
 |
 |
 |
|

 Posted in


